Making the Norwegian army tent
On most tarps there is a drawing of various variants of the tent. The number of tarps depicts the number of occupants.
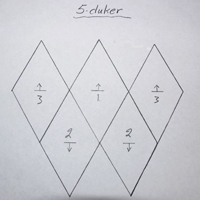
The above picture shows the tarp layout of a 5 piece version. But if one turns the roof tarp 90° you get a tent with more width and actual living space. This is the way we do it in the army.
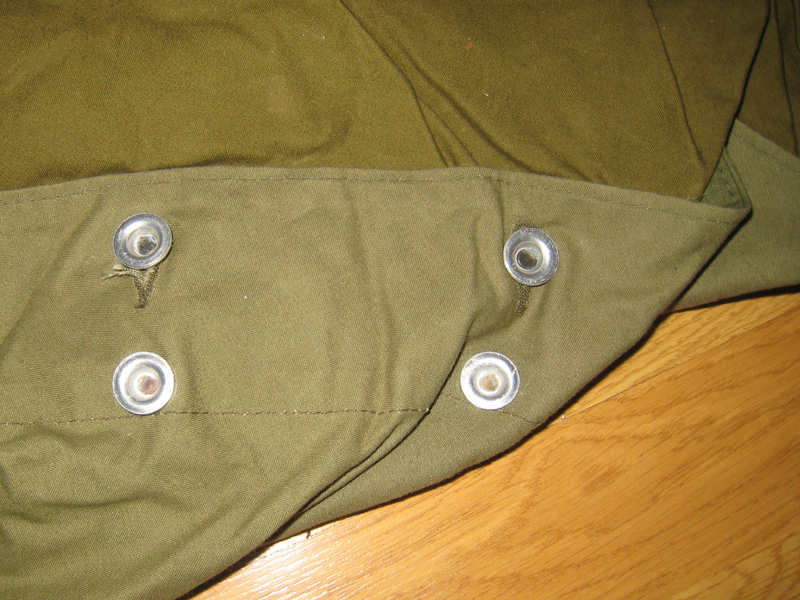
The tarps are buttoned together.
The roof piece is buttoned straight forward, inner button to inner button and so on. It is done this way to make sure the water run of the roof.
The side panels are joined in a way called “storm buttoning”, making them wind/draft proof.
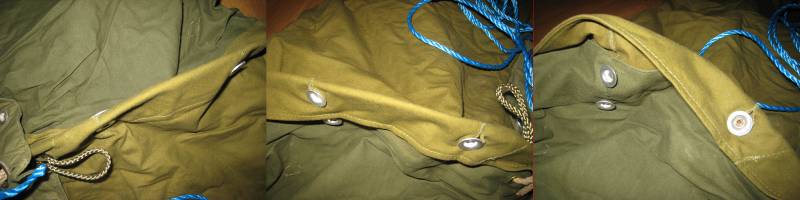
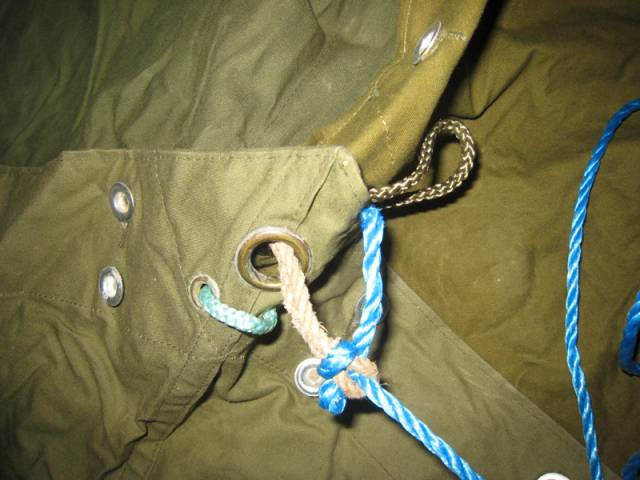
A 5 meter rope (blue on the pics) is fastened to each of the four corners of the tent. There should be a small rope loop in each corner of the tarp to attach the 5 meter line too.
The ropes are fastened in suitable trees. Height of the tent is adjusted to ones liking.
The tent roof should slant a little towards the entrance to keep the warm air inside the tent.
In the mountains (without trees) skis or pre cut trees are used to support the tent.
In winter a cold pit is dug by the entrance. This is both to “trap” cold air and to make entering and leaving the tent easier.
The tent has no bottom, but that is no problem as the sleeping mats overlaps anyway.
The occupants lie down in a fan shape, feet’s against the door and your rucksack behind your head.
These tents were heated using the trusty Optimus 111 hiker. One man was always watching out for the stove, pressurising it and filling fuel when needed.